So, it has been a while since I posted Part 1 and Part 2 of the coffee can lantern project, but I have worked on it several times since last posting.
I bought three ceramic light fixtures from Home Depot and also a swag lamp kit at that time, which came with the chain, wire, and a rolling on/off switch down by the plug end.
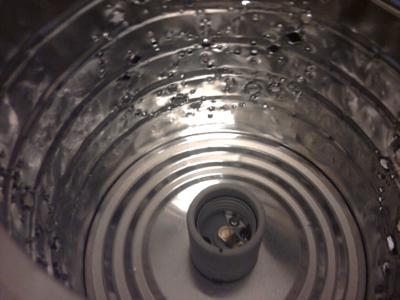
First, I needed to be able to mount the light fixtures on the cans.
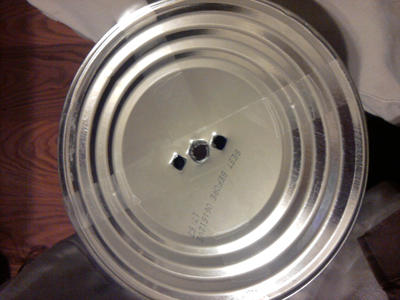
The same process as punching the design into the can, here. Mark it off with Scotch tape, punch it with a nail, then a screwdriver to open the holes up larger.
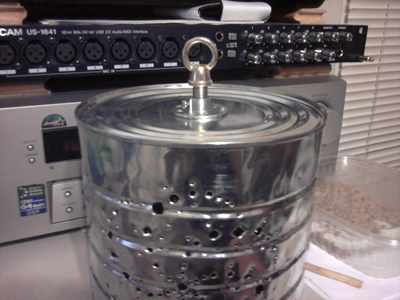
Now that they are able to mount up properly to the cans, it's time to wire them up. I wired each of the lanterns separately, leaving the right amount of wire hanging out the top, for how I wanted them to hang in relation to each other. I knotted the wire around the hanging ring on each, so that the weight of the can, fixture, and bulb would not be hanging by the electrical connectors only.
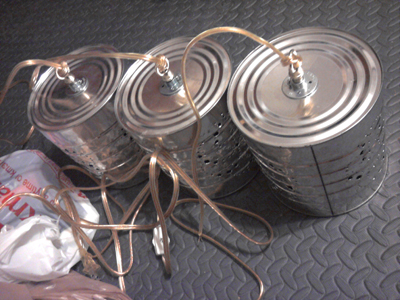
I looked at an existing three lamp light fixture to see how it was wired. The positive and negative wires from each lamp daisy chain to the next. So, from the wall plug, it goes:
Black > Lamp > Black > Lamp > Black > Lamp
White > Lamp > White > Lamp > White > Lamp
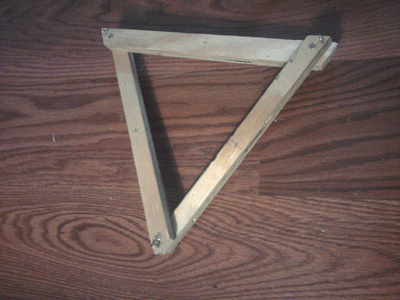
I needed something to hang them from. I had been puzzling over this in the back of my mind for a while and finally gave in to a temporary solution, so I could move on with the wiring and chain assembly. I took some scrap wood and assembled this ugly triangle. In the picture, you can see eye hooks screwed into each corner. I had to move those to the middle of each of the arms (you can see the pencil marks in the picture) because the cans weren't hanging properly.
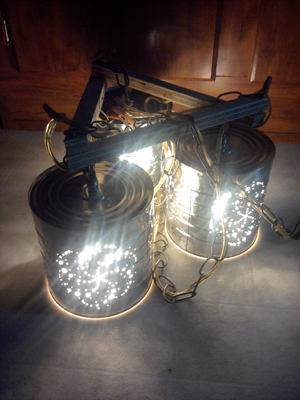
I wired the whole thing up with screw-on wire nuts, with lots of little pieces of wires, plugged it in and turned it on, and it worked just fine. No heat from any of the connections. No fluctuation or sparks or smoke when handling the connections and moving them around. On the bathroom floor with too high a wattage bulbs (75W CFL equivalent):
Before calling it done, I need to figure out a better way to hang them, and clear up those wiring connections. I will probably use shrink tubing rather than the wire nuts, so they will look better and the wiring will be a little more protected from dust and humidity. There will probably be one more post in the series once it's all said and done.